Showing posts with label Paper Doll Dress Up. Show all posts

Thursday, April 26, 2012

Disney Tomorrowland

 I'm on a Disney roll so here's a couple of layouts I did for our 2006 trip. I'm really behind I know!!


I'm trying to use up a lot of my stash so the paper is just various stuff from  my scrap drawers. It feels good to be using it up.

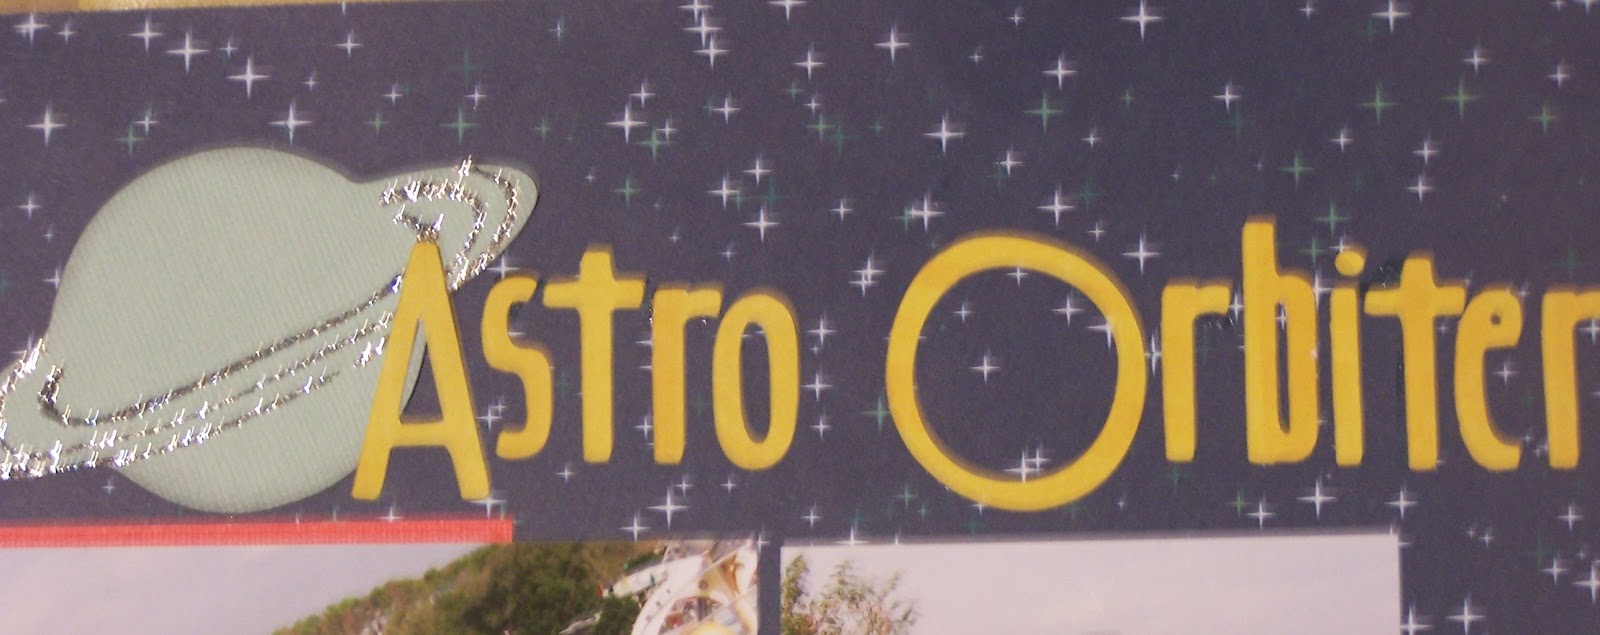
I cut the title using the Jubilee cart. It has some great fonts on it. Check it out. I punched circles from blue paper and made a border for the bottom.


The title was again cut from Jubilee and the space shapes are from the paper doll cart. There are all kinds of shapes on this cart you can use. If you don't have it you need it! I added stickles to them for some added dimension.


And here are a few close ups.


If you love Disney I have lots more layouts and projects so be sure to check them out.

Supplies
Cricut
Paper doll cart
Jubilee cart
stickles

Hugz
Tina Gale

Tuesday, April 17, 2012

Disney's Magical Monday

Happy Tiggerific Tuesday. I hope it's been a good one so far. Sorry this is up a bit late. I had to go in and see the dentist this morning. Ugh.  I lost a filling way back and have just been a baby about getting it fixed. Well teach me. They have to do a root canal now. They started it this morning and will finish in six weeks. Thankfully I found a great dentist and he was very gentle.


I didn't do a lot for this layout but the pictures kind of stole the show anyways. LOL I cut the spaceship from the Paper Doll cart. I'm going to use it for my journaling. Hope you enjoy and do some scrapping for yourself today!

Hugz
Tina Gale

Friday, July 15, 2011

So Fun Circus Layout

Hello! This is Tina Gale again with Sweet Sassy Design Team challenge of the week of a circus theme. I decided to work with photos from the Cricut Stampede in March. Our first night we had a wonderful dinner of fair food and carnival games. It was a great way to start a very fun weekend.
Remember you can always click on the photos to see them up closer.
I chose some fun paper from Imaginisce and let it set the tone for my layout.  
I cut the tent several times out of different paper to paper piece it since it didn't have layers. This is really easy to do when a certain cut doesn't have the layer button.
I cut the clouds twice with one being 1/4" bigger to layer them as well. This is another trick to add layers to your cuts.
The clown is popdotted up for dimension along with a couple of cute tiny buttons to add texture.
A tag for a secondary title or extra journaling. You can also see a little detail I added to the tent up close. I used my Sew Easy and a marker to add faux stitching to the tent. A couple of swirl clips give the illusion of holding the sides back and a couple of brads for the tent tie downs all adds dimension and that extra little bit to make the layout extra special.
The second page I kept pretty simple with just a few great cuts to tie it all together.
The sun is a favorite cut of mine and a couple of smaller tickets for extra journaling and notes finish the layout. I may also use the clouds for more journaling space if I need it.
Details:
Cartridges:
Paper Doll Dress Up - tent pg 58 Accessory 3 cut fit to page out of several different papers
  I used Daisy D paper for the blue strip and some Coredinations card stock
PDDU - Clown pg 58  5 1/4"
Create a Critter - Clouds pg 55 from 2" - 2 3/4"
Doodlecharms - Sun 2"

Paper:
Imaginisce - Animal Crackers, Come One Come All, background bottom
Colorbok - Red Rick Rac Border, mat and scalloped border
Die Cuts with a View - background

Misc:
Sew Easy
Swirl clips
Buttons
Cat eye inks
Creative Memories Black pen

Thanks for taking the time to check out my layout and be sure to visit me at my blog for more great layouts.
Hugz
Tina Gale

Wednesday, March 9, 2011

Scrappin With my Bug

It seems like I've been working on this forever. I kept changing and adding things. I think I'm pretty happy with it other than I think it needs some more bling. lol
This will be going on my table in Dallas and then hanging on my wall when I get back. I think it turned out too fun!


Now for a little detail about what I used to create it. Scrappin With my Bug came from the new Everyday Cricut cart exclusive to Circle members. It has soo many cute phrases it was hard to decide on one. The frame is from Lacy Labels. I definitely see places for a little bling here!


I made Cowboy Cricut with two carts. The body and clothes are from Paper Doll Dress Up and the head is from Everyday Cricut. I chose the cowboy get up in honor of the Stampede but he'll be right at home in my studio afterwards.


I'm not so sure she turned out looking like me but she is cute! She's from Paper Doll Dress Up as well as her camera. I used Diva Liquid Pearls for her buttons on her shirt, pink pearls for her earrings and some diamond bling for her ring.

And my favorite part of her accessories!! She has her own Cricut Circle charm bracelet! Isn't that fabulous?!  I had to hand cut it because it was soo tiny! I used some diamond glaze on it to stiffen it up then attached it to a beaded bracelet I strung together.


The last little detail is my pink cricut from Everyday Cricut again. Even though I cut it bigger the buttons were just too small so I ended up drawing them in with a marker. I'm not sure how big you would have to cut it to get them big enough to cut out so be warned if you decide to try this cut.

I hand cut the table as well. I even made it the colors of my table in my studio. It's perfect! I had another table cut from the French Manor cart but I just couldn't get the proportions to work with everything else. I'm so glad because this complements my room and the layout so much better.

Shutterbuggin, my messageboard name and Tina were cut with Pooh Font and the capital letters are from the cricut font on Everyday Cricut.

I think that about covers it. If I missed anything let me know and I'll be happy to answer. Be sure to let me know what you think and if you're coming to Dallas.

Hugz
Tina

Saturday, June 19, 2010

Happy Father's Day Captain Edwin


Here's a quick card I put together for my hubby for Father's Day. I just received Capt Edwin and couldn't wait to use him. I also colored and used Tilda with Jolly Roger on the inside of the card. Magnolia Stamp Lovers
is having a challenge for Father's Day so I entered it there.

The striped paper is from Basic Gray. The treasure map and treasure chest is cut from Paper Doll Dress UPs. I colored everything with my copics and distressed with my cat eye inks.
SimonSays is having a pirate challenge so I entered there as well.

Wednesday, February 10, 2010

Valentine Fun

This last weekend my good friends came over to scrap while our husbands watched the Super Bowl. We had a fabulous time and even got a few cards made. I thought I would share some of the cards my friend made.
I adore the idea she came up with this card and will definitely be scraplifting. On the inside she put I'd be lost without you.

Compass: Camp Out
Treasure Map: PDDU


Love: Sweethearts
Heart: misc stamp


Frog: Sweethearts
Heart: misc stamp


Frog: Animal Kingdom
Crown: Happily Ever After

I'll be sharing the cards I made as well but for now I hope you enjoy these.
Have a  blessed day

Saturday, February 6, 2010

Moo Moo

Ok, I'm in desperate need of a title. I really don't want to do Moo Moo since I did Oink Oink on the other layout. Any suggestions? Send me your best suggestions.

I can't believe my babies are all grown up. These two little bottle calves were a surprise from their Uncle. It was really fun until they realized calves eat really early in the morning and they want to eat more than once a day. LOL
The cow and pen are from Paper Doll Dress Up and the tree is from the Sweethearts cartridge. The grass is cut fit to length from the Plantin cart. I of coursed inked and chalked them to bring them to life. Soo cute! I just need a title. Wait I already said that. ;o)

Have a blessed day and I'm looking forward to those suggestions.